Red, White, and Blue - A Closer Look
For those of us who are visual learners, this is how I put my star blocks together. There are other ways to do this; you can sew the block together in long lengths instead of smaller blocks. This is what worked for me when I was still learning. I hope it gives you some insight and inspiration to make your own creations.
After drafting or choosing blocks, I ironed, did math, and cut so, so many squares. Doing this first made it so that I just needed to sew the blocks together when I felt up to it. You can also separate the pre-cute pieces into bags or envelopes if you care to organize it further for friendship quilts or different days of sewing.

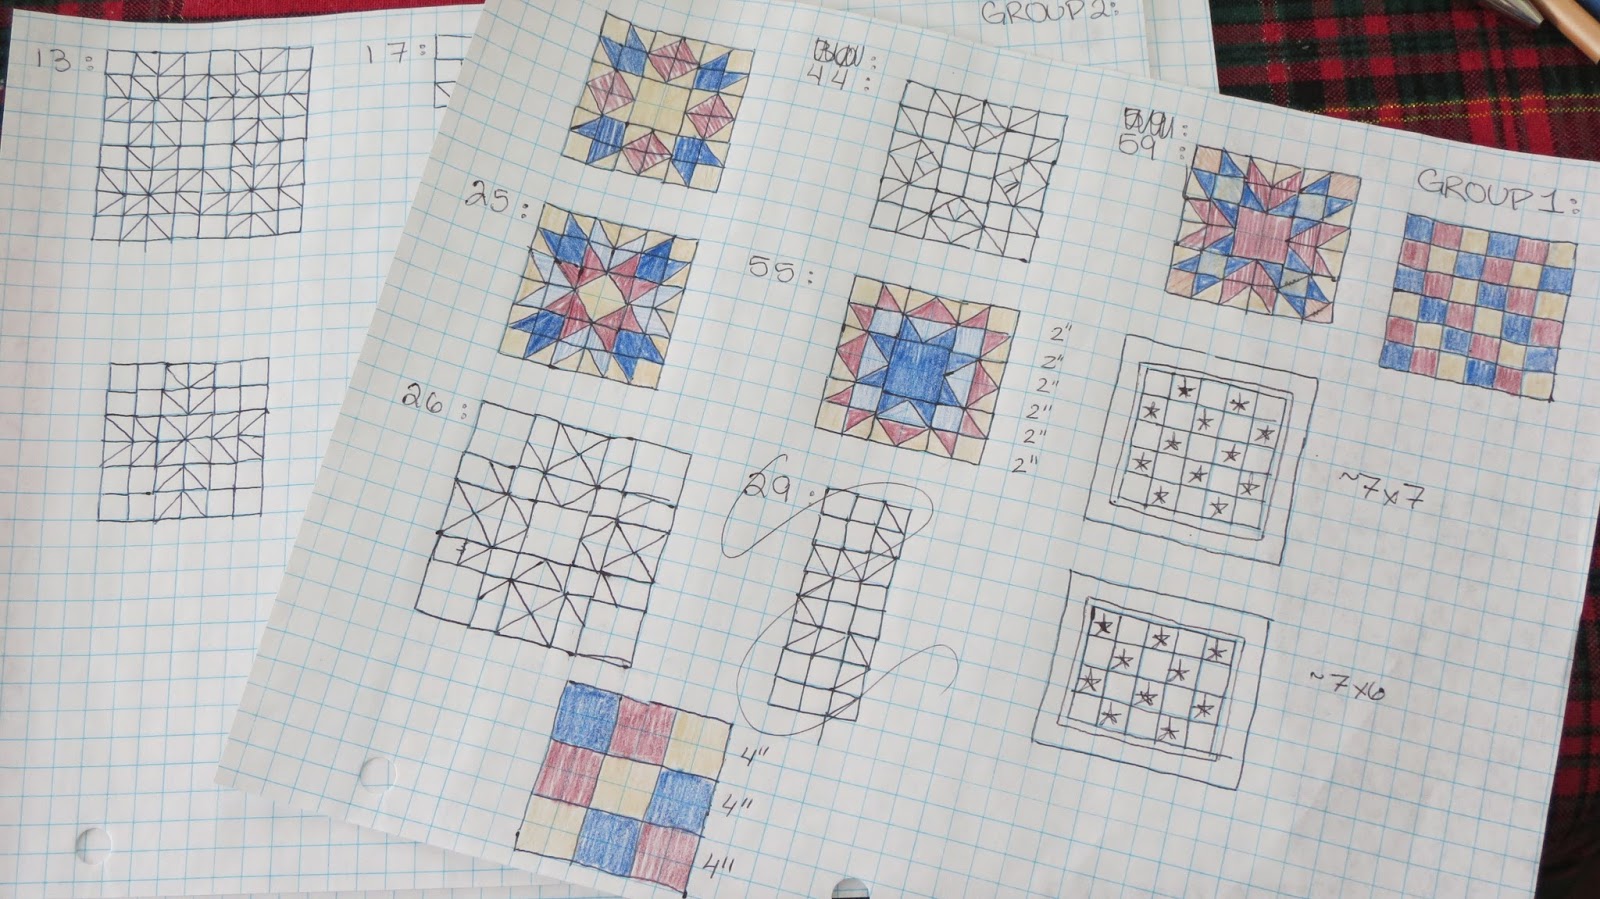
Below is one of the final blocks drafted out. I start by drawing out the block and having a tally of how many squares or pieces I need at the bottom. I prefer this method for myself when dealing with multiple larger blocks when I don't have a pre-drafted pattern from a book, magazine, or from etsy, etc. For me, this allows me to see the block in its entirety and in pieces at the same time - a big picture and small picture view in one, if you will.

Next I arranged all the squares I would need for this particular block before I started sewing the pieces.

I began with the squares that would be half triangles. There are multiple ways to do this, and I did what I thought would be easiest at the time. It ended up not being a very accurate way of making them, but for my inexperience it worked. To make them, rather than sewing down the center of two squares I sewed just to the side of the center, and without drawing any guide lines first, so no two half triangle squares were the same. Needless to say I didn't look for help, nor want it when working on this quilt. I just wanted to figure it out on my own. I give myself props for that, but I wish I would have been more delicate and accurate with the initial sewing.

Squares become rectangles.

And rectangles become squares again.

Until one, by one...

...they are joined together..

...and make up..

...the final block.

Again with another block, this one with more half triangle squares.
The drawing.
The drawing.

The initial lay out with half triangle squares.. I hope that's what other people call them.

Squares to rectangles.

Rectangles to squares.

And the final block.

I hope this gave some insight on one of the many ways of quilting.
See you next week. Happy creating, and happy quilting!
For business inquires, contact me at: KristinVictoriaArt@gmail.com
To view original paintings, visit: etsy.com/shop/KristinVictoriaArt
To view prints on various items, visit: society6.com/KristinVictoria
To view more photos from the studio and my life on flickr, visit: tinyurl.com/kvartflickr
Follow me on Twitter, at: @KristinV_Art
Find me on Instagram at: instagram.com/kvjaenicke17


Comments
Post a Comment